Picture Frame
November 2, 2017
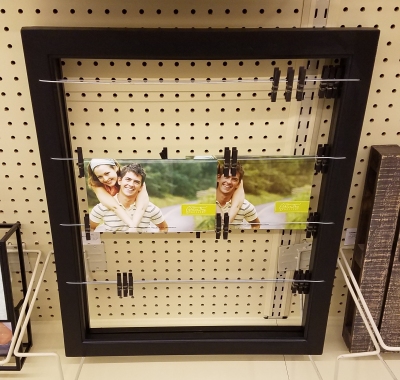
I saw this picture frame at Hobby Lobby and loved the concept, but I couldn't believe the $50 price tag. I decided to try to build my own, knowing I had decent success with my LEGO Minifigure Display. The cost of materials was around $20. It had a good response on social media, so I decided to write a tutorial on how to make one.

What you'll need...
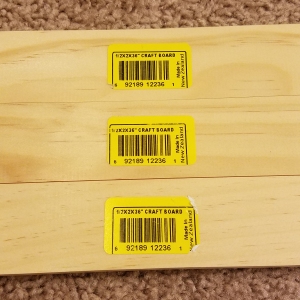
- (3) 1/2 inch x 1-1/2 inch x 3 feet pine boards (cut one in half with a table saw for two 18 inch length boards)
- (8) flat phillips #6 x 1-1/2 inch wood screws
- (6) wood beads with 1/8 inch hole
- (2) large self-leveling picture hangers
- (3) 1/8 inch diameter x 3 feet length hardwood dowels OR twine
- Gorilla glue (if you are using dowels)
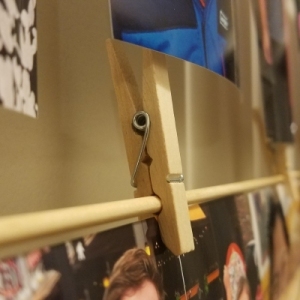
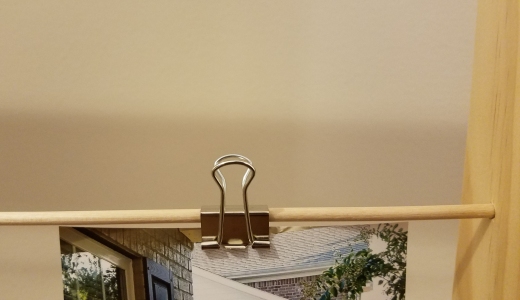
- Small clothespins OR small binder clips
- Drill with 3/32, 1/8, and 5/32 bits
- Phillips screwdriver
- Tack hammer
- Sand paper (medium & fine grit)
- Ruler
- Pencil
- Cloth
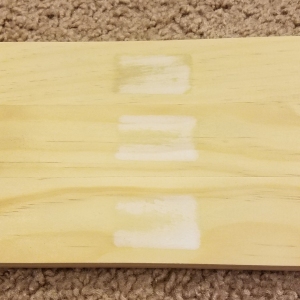
1. Use medium grit sand paper to remove the price tags that are annoyingly fused to the wood. Use cloth to wipe away dust and residue.
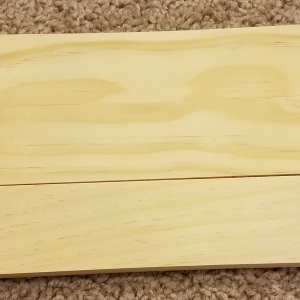
2. Use fine grit sand paper to smooth all four pieces. Use cloth to wipe away dust and residue.
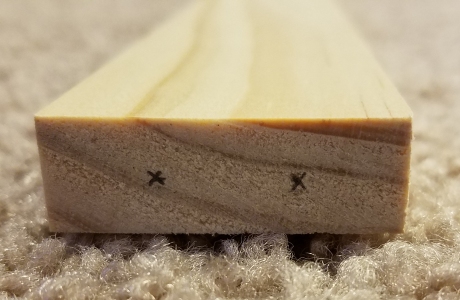
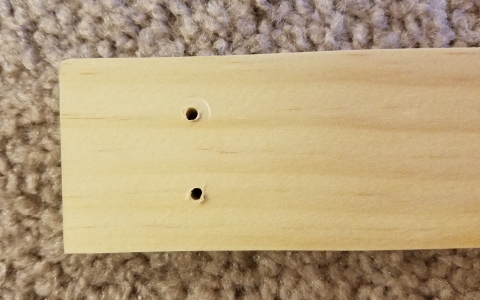
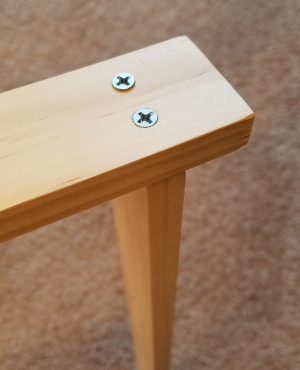
3. Take the two 18 inch pieces and put two marks on both ends of each piece.
The marks will go 7/16 of an inch in from the side edges and in the middle, which is 1/4 inch.
These marks will be for the screws.
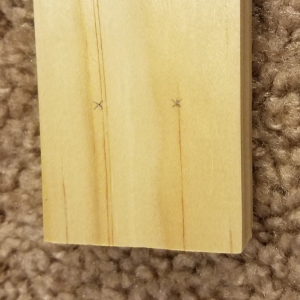
4. Take the two 3 feet pieces and put two marks on both ends of each piece.
The marks will go 7/16 of an inch in from the side edges and 1 inch in from the ends.
These marks will be for the screws.
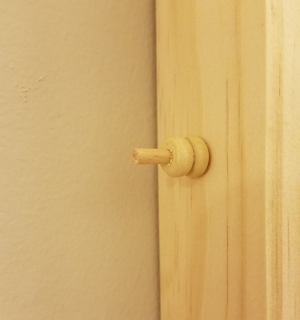
5. Take the two 18 inch pieces and put three marks down one side of each.
All marks will go in the center, which is 3/4 inch. Starting at one end, the first mark will go 1-3/4 inch in from the edge.
For the second mark, measure 4-3/4 inches from the first mark. For the third mark, measure 6-3/4 inches from the second mark.
These marks will be for the dowels OR twine.
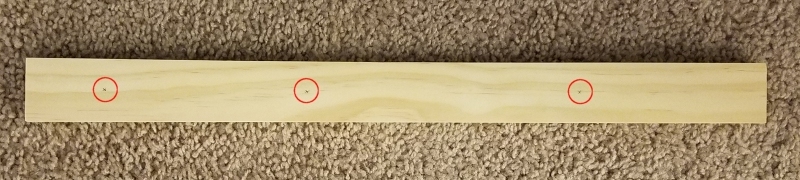
6. Use the drill and 1/8 bit to drill the marks made in Step 5. If you are using dowels, test that they fit. If not, use the 5/32 bit.
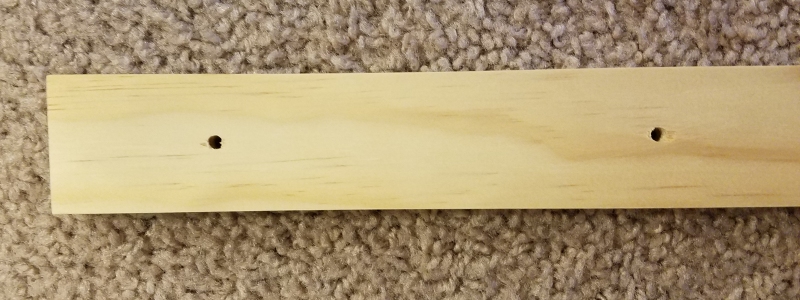
7. Use the drill and 3/32 bit to drill the marks made in Step 3 and 4.
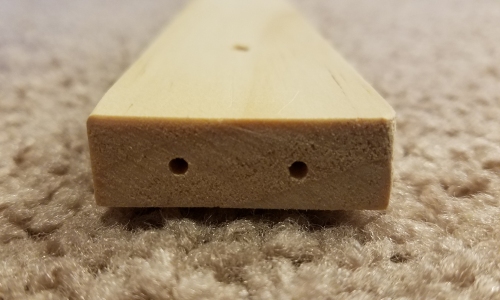
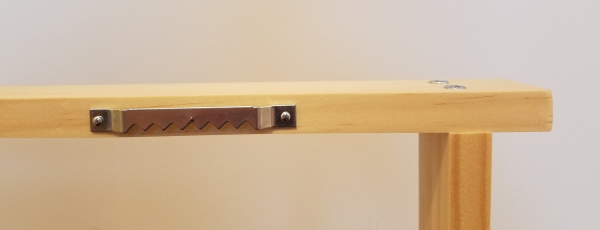
8. Use the screws to hold the pieces together. The 3 feet pieces will go on the top and bottom. Make sure the holes for the dowels/twine on the 18 inch pieces are properly aligned.
9. Use the tack hammer to nail the picture hangers on the back. I measured 3 inches in from the ends.
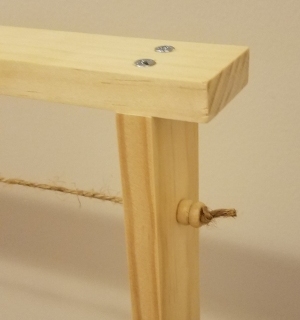
10. If you are using dowels, use Gorilla Glue to secure the beads on the ends.
If you are using twine, string the twine through and tie knots at the end of the beads.
11. Use the clothespins or binder clips to hang the photos.